Setting up advertising campaigns on the Smart Satu side
When setting up banners for each type of banner, you must specify the Type of transition, in particular:
- Product card. When choosing this type of transition, it is necessary to select the product in the catalog to which the user will be transferred after clicking on the banner.
- Promotion card. When choosing this type of transition, you need to select the promotion to which the user will be transferred after clicking on the banner.
- Supplier's catalog. When choosing this type of transition, you need to select the supplier to whose catalog the user will be transferred after clicking on the banner.
- Supplier's promotions. When choosing this type of transition, it is necessary to select a supplier to whose promotions section the user will be transferred after clicking on the banner.
- Supplier information. When choosing this type of transition, it is necessary to select the supplier to whose section the user will be transferred after clicking on the banner.
- Cashback. When choosing this type of transition, the user will be transferred to the "Cashback" section.
- Brand. When choosing this type of transition, the user will be transferred to the list of products of the specified brand.
The general procedure for creating a banner
Go to the CRM >Adbutler section on the left navigation panel.
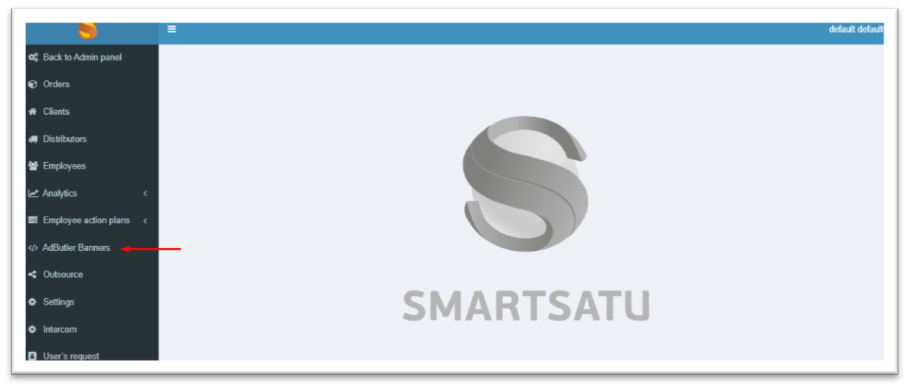
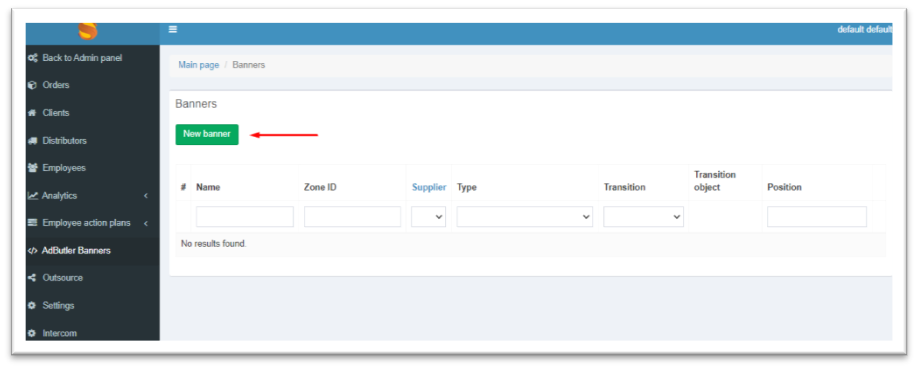
This section contains a list of already configured advertising banners that can be edited/deleted.
To place a new banner, click the New banner.
Setting up a Welcome Banner
Simultaneous creation of several Welcome Banners is banned.
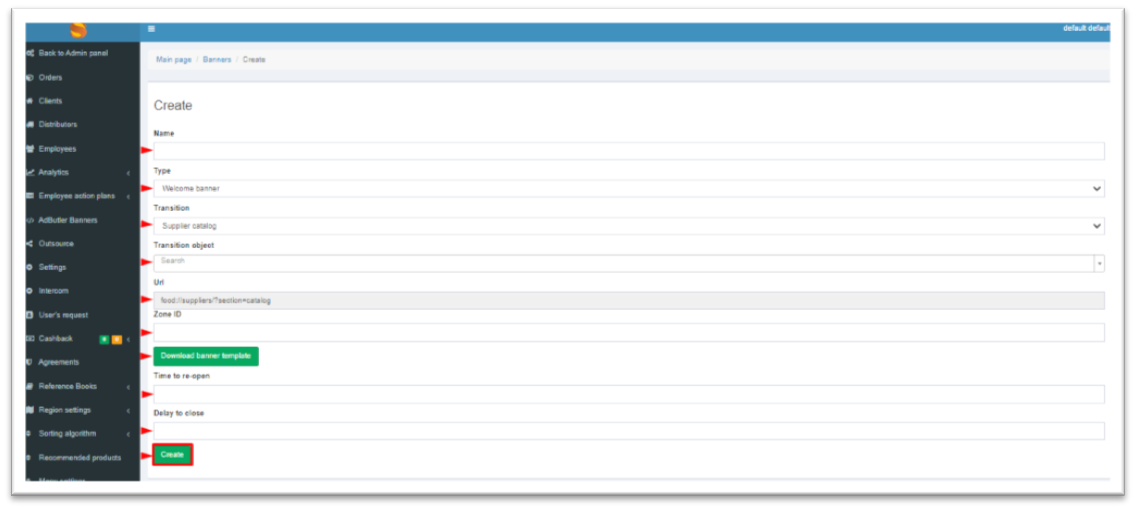
When placing a Welcome banner, you must:
* You can download a full-size template of this banner type with recommendations for placing graphic information on it (the template is at the end of the instructions).
After setting up, click on the Create button.
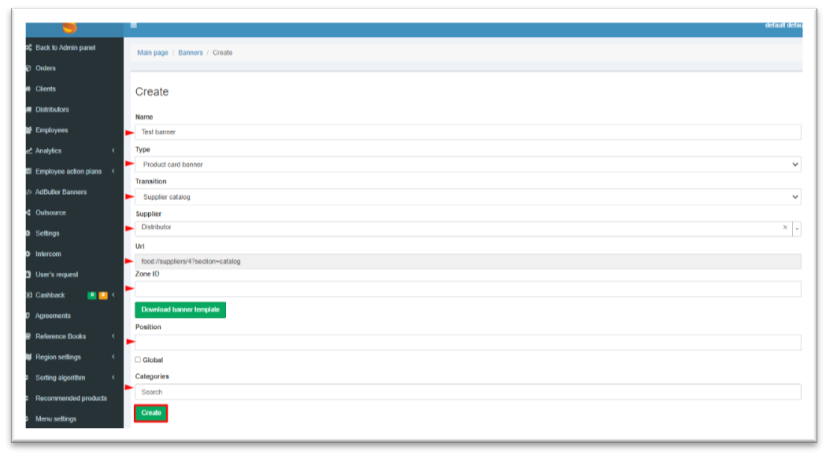
Setting up the Product card Banner
The product card banner is displayed in the catalog categories/subcategories at the position specified during the CRM setup. This banner is displayed in a separate layout and does not depend on the rules of monetization of goods, sorting in the catalog or other business rules. The choice of the number of target categories/subcategories is not limited. At the same time, you should check the availability of offers in the target categories beforehand.
It is forbidden to create several Global Banners with the same position for several suppliers in specified category/subcategory. It is also forbidden to create multiple banners with the same position in the same category of the selected supplier.
When placing the product card Banner, you must:
* You can download a full-size template of this type of banner with recommendations for placing graphic information on it (the template is at the end of the instructions).
After setting up, click on the Create button.
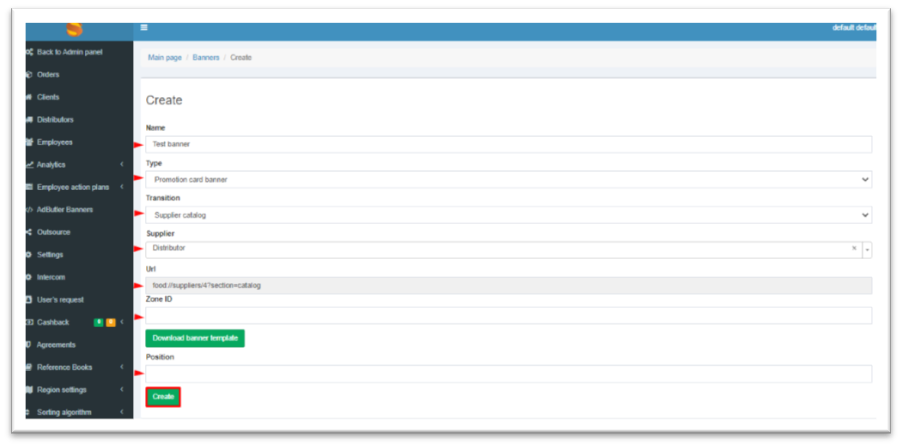
Setting up the Promotion Card Banner
The promotion card banner is displayed in the Promotions section at the position specified during setup in CRM. This banner is displayed in a separate layout and does not depend on the rules for mixing Selected Promotions. This banner will be also displayed in the promotions section of a specific supplier specified when setting up in CRM.
It is forbidden to create multiple promotion card Banners on the same position.
When placing the promotion card Banner, it is necessary:
You can download a full-size template of this type of banner with recommendations for placing graphic information on it (the template is at the end of the instructions).
After setting up, click on the Create button.
Configuring the Supplier Card Banner
The supplier card banner is displayed in the Suppliers section at the position specified during setup in CRM. This banner is displayed in a separate layout and does not depend on the sorting rules in the supplier catalog or other business rules.
It is forbidden to create multiple supplier card banners on the same position.
* You can download a full-size template of this type of banner with recommendations for placing graphic information on it (the template is at the end of the instructions).
After setting up, click on the Create button.

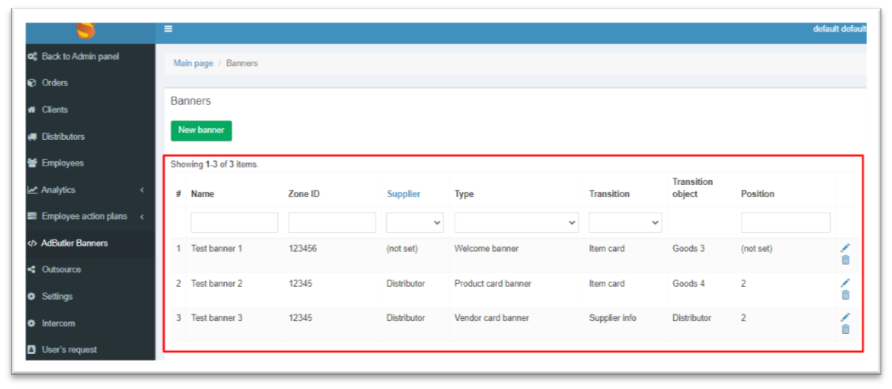
List of configured banners
After successful configuration, all banners are displayed in a common table. Search by Name and ID zones in Adbutler is available. It is also possible to sort by Banner Type and Transition Type.
In addition, configured banners can be edited and deleted.